Setup cPanel Email in Outlook 2016
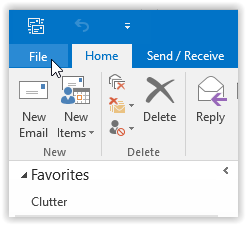
Step #1: Click ‘File‘ Tab.
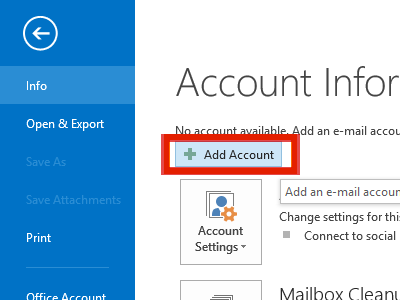
Step #2: On 'Info' Tab, Click 'Add Account' button.
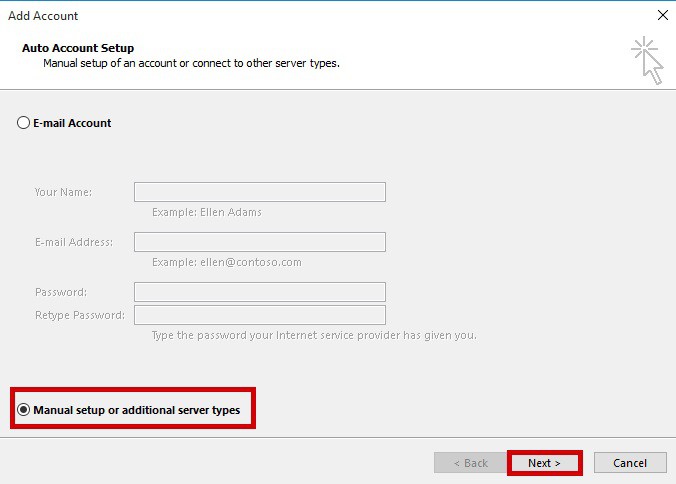
Step #3: Select 'Manual setup or additional server types' and then click 'Next'.
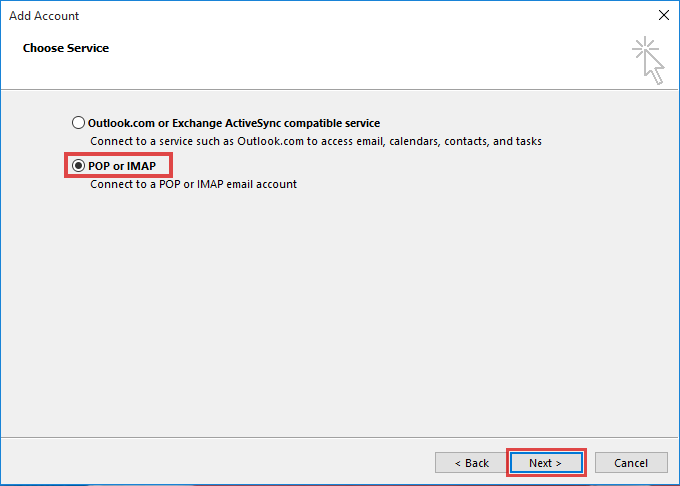
Step #4: Select 'POP or IMAP' and then click 'Next' button.
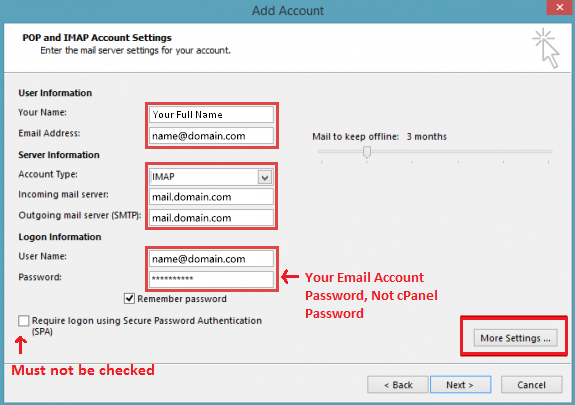
Step #5: Enter your email account settings as described below and then click 'More Settings...'
Your Name – Your first and last name
Email Address – Your full email address
Account Type – Select 'IMAP'
Incoming mail server – Use the Secure SSL 'Incoming Server' setting from cPanel.
Ex. : mail.[Your Domain name]
Outgoing mail server (SMTP) – Use the Secure SSL 'Outgoing Server' setting from cPanel
Ex. : mail.[Your Domain name]
Remember password – Check the option. So Outlook will not prompt you for a password every time you start Outlook.
Username – Your full email address
Password – Your email password (this is not the same as your cPanel password). Password is the email account password.
Require logon using Secure Password Authentication (SPA) must not be checked. SPA is not the same as SMTP authentication, which is used on cPanel servers.
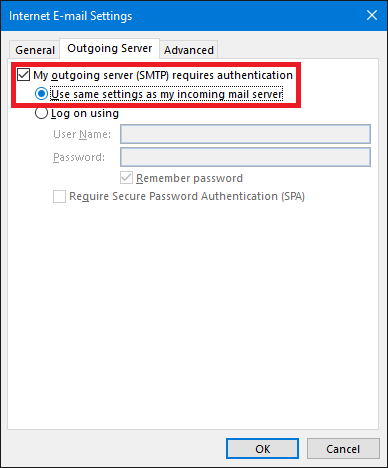
Step #6: Select 'Outgoing Server' tab
Check 'My outgoing server (SMTP) requires authentication'
Check 'Use same settings as my incoming mail server'
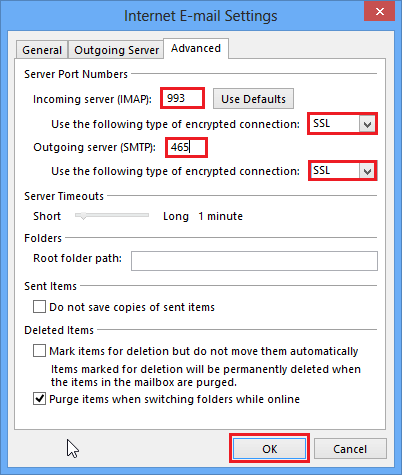
Step #7: Select 'Advanced' tab
Change 'Outgoing server (SMTP)' to 465
Change 'Incoming server (IMAP)' to 993
Change 'Use the following type of encrypted connection' to SSL
Change 'Use the following type of encrypted connection' to SSL
Click 'OK' button.
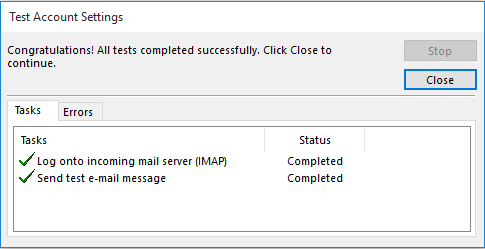
Step #8: Click on the Test Account Settings button, you should see two tests completed successfully as shown in screenshots.
Step #9: Click 'Next' button and then 'Finish'.
You're all set. Your cPanel Email account is setup with Outlook 2016.