How to create Categories and Subcategories in Magento 2 ?
To add Categories and Subcategories in Magento 2, follow the steps as described below:
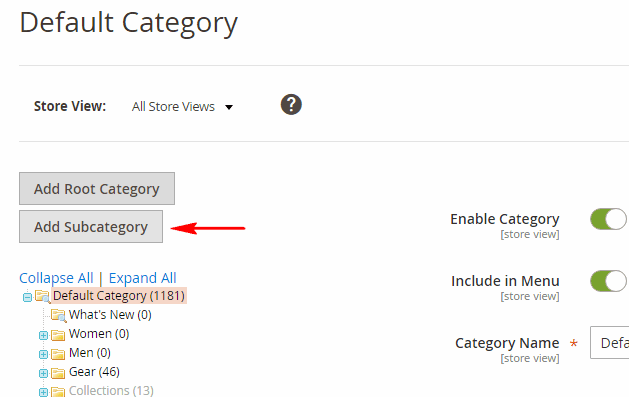
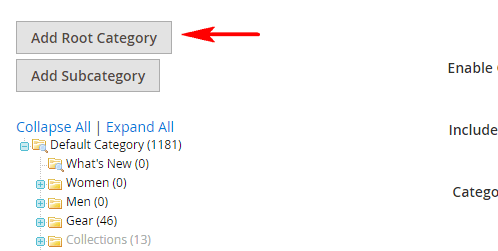
#1. From admin sidebar, Go to Products > Inventory > Categories

#2. If you're just starting without any data, Magento 2 comes with a Default category which is a Root category.
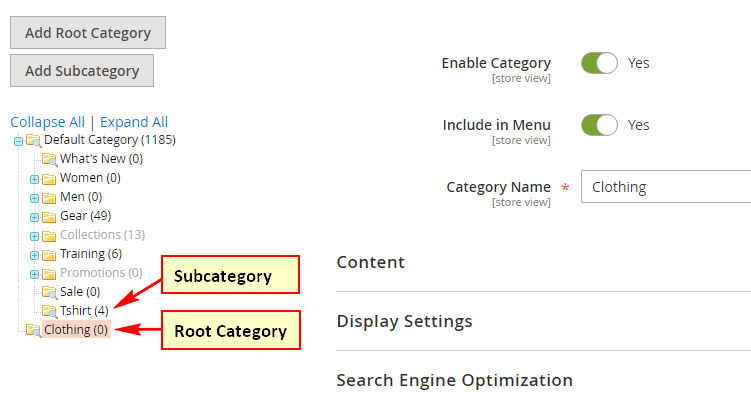
#3. Click Add Subcategory.
#4. Fill required General Information.
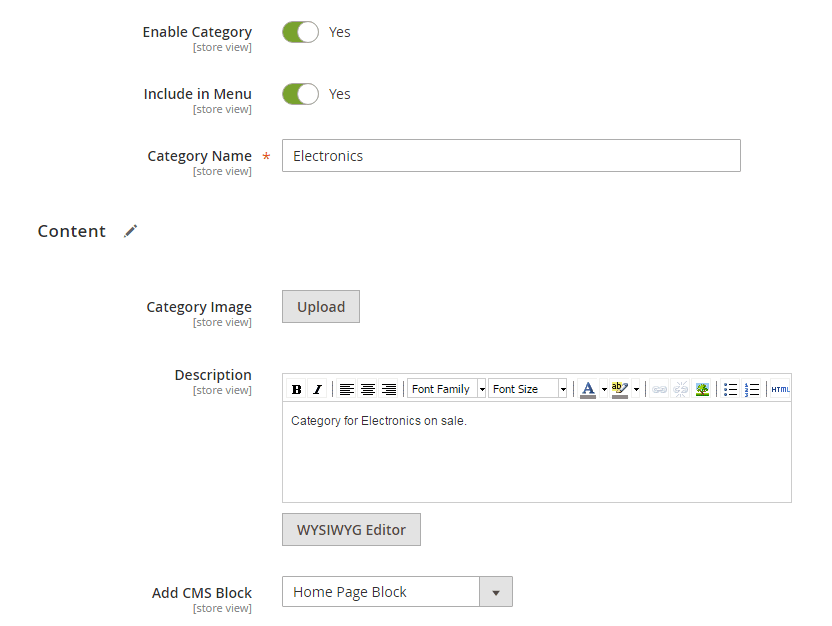
- Enable Category: Set it to Yes to activate.
- Include in Menu: Set Yes to include the category in the main menu.
- Name: Name of the Category
- Image: Category Image
- Description: Category Description
- CMS Block: Choose the static block to display (if applicable)
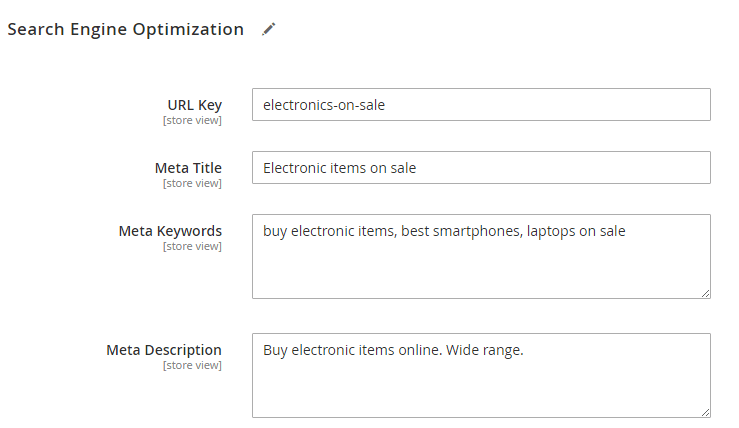
- URL Key: URL key to direct the category page.
- Page Title: Title of the Category page tab.
- Meta Keywords, Meta Description: Add related keywords and description for search engine indexing.
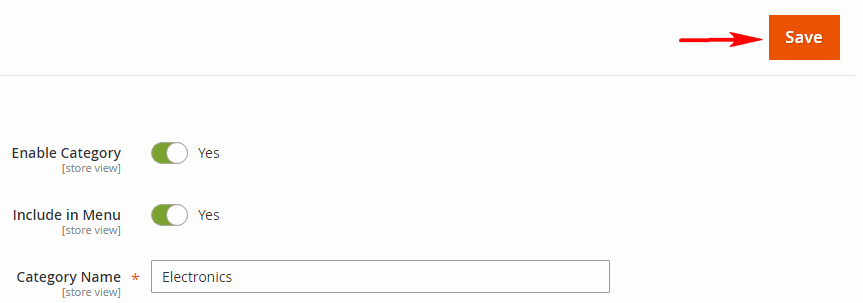
#5. Click Save Category.
To add new Root category click Add Root Category and fill general information I.e. Category Name, Category Image, Description, Meta tags.
To add a Subcategory to this newly added Root Category, make sure the Root Category is selected in category tree (left side). Then click Add Subcategory and repeat the steps 4-5 from above.
That's it. Now you know how to add categories and subcategories in Magento 2.