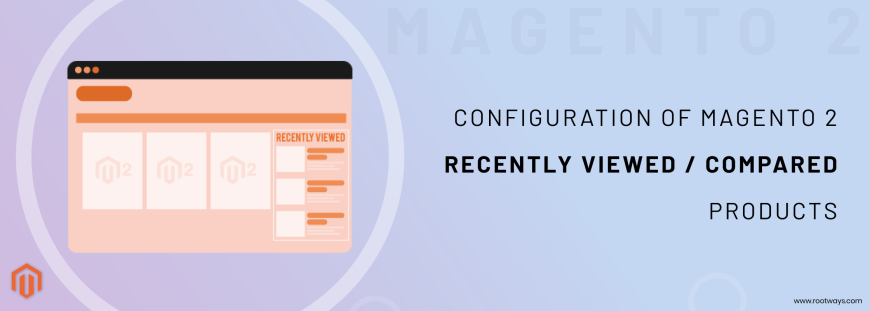
Configuration of Magento 2 Recently Viewed/Compared Products
In this blog, we will discuss Recently Viewed/Compared Products.
But before we start, have you read our previous blog post? Not yet, Read now: Uploading a Product Image Placeholder in Magento 2. Also, share it with your co-workers.
The Recently Viewed and Recently Compared blocks are often seen on the catalogue page's right sidebar. Each website, store, or store view might have a different number of products listed in each.
Customers don't have to go through the endless Magento 2 catalogues looking for the product they liked or got interested in the last visit. Instead, customers might return to your Magento 2 website and purchase the product they put off for any reason.
Let's get started, shall we?
Steps for Recently Viewed/Compared Products:
- Step 1: Log in with your Admin panel
- Step 2: Check the sidebar and click on the STORES option.
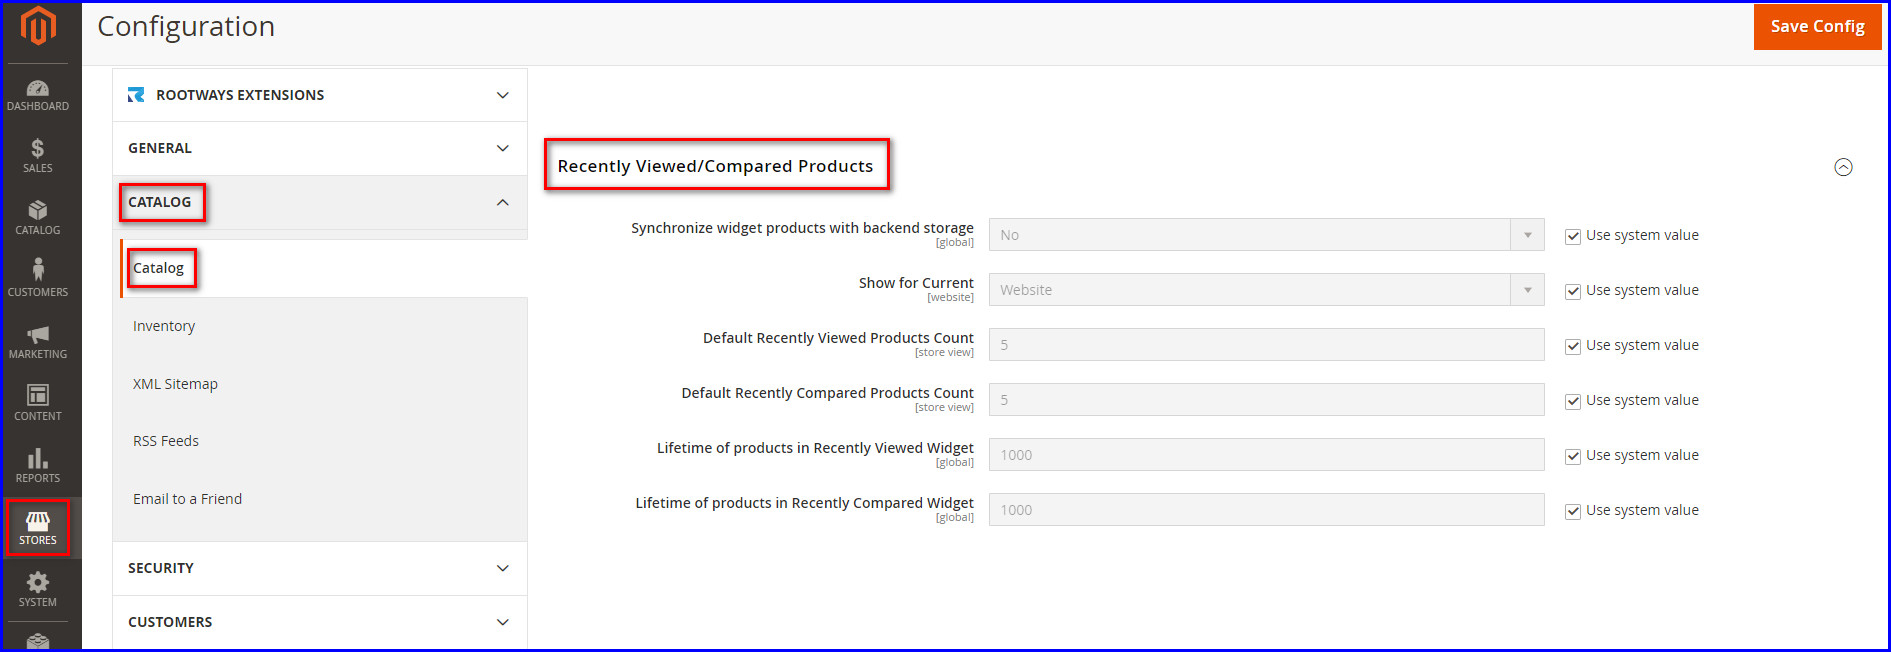
- Step 3: Go to the Settings > Configuration
- Step 4: Select the CATALOG tab to click on the Catalog and expand the Recently Viewed/Compared Products
- Step 5: Synchronize widget products with backend storage -
- Yes: Select "Yes" to synchronise recently viewed/compared product widget details (for example, product ID) with your current product storage availability in the database. This information you can reuse on multiple devices.
- No: To deactivate the recently viewed/compare products widgets, choose "No." Synchronization with backend storage.
- Step 6: Show for Current - Select the current website, store, or store view on which the "recently seen/compared products" will display.
- Step 7: Default Recently Viewed Products Count - Enter the default number of recently viewed products to display in the viewed products blocks.
- Step 8: Default Recently Compared Products Count - Enter the default number of recently viewed products to display in the compared products blocks.
- Step 9: Lifetime of products in Recently Viewed Widget - Enter the maximum time (in seconds). This option defines how long the recently viewed products will be displayed in the recently viewed list.
- Step 10: Lifetime of products in Recently Compared Widget - Enter the maximum time (in seconds). This option defines how long the recently compared products will be displayed in the compared viewed list.
- Step 11: If you are done with this configuration, click the Save Config button.
Configuring recently viewed/compared products in a Magento 2 store can significantly improve browsing and customer engagement. It allows shoppers to choose the product they last visited or compared rather than searching the whole store catalogue.
We hope you find this step-by-step tutorial on configuring Magento 2's "recently viewed/compared products" useful.
Keep an eye on our latest blog.